
Last updated September 24, 2026
Attic Insulation Maintenance Checklist for El Monte Homeowners
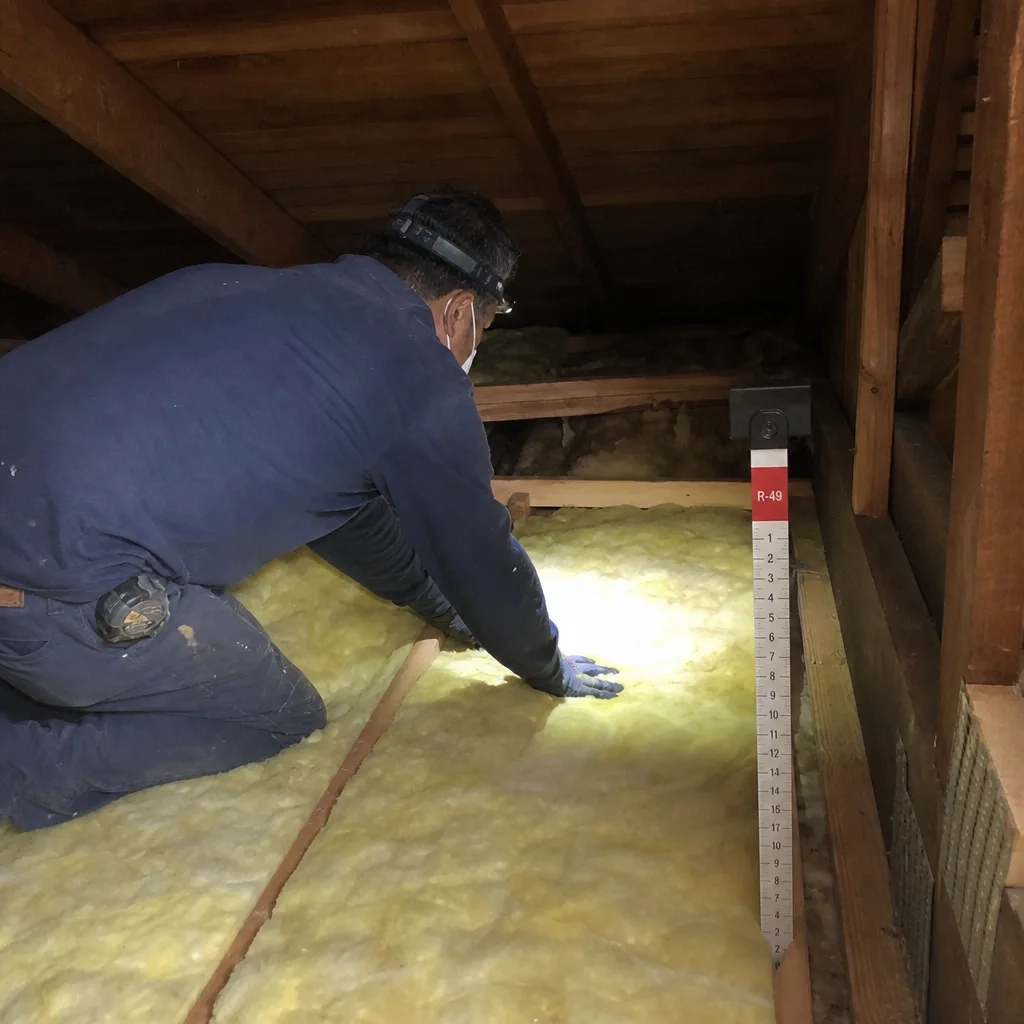
A 2-inch compression in blown cellulose - easily caused by one HVAC technician kneeling on the attic floor - can drop effective R-value by 15 to 20 percent. Most homeowners in El Monte never know it happened because nobody measured before and after. In our work across the San Gabriel Valley, we’ve found that insulation degrades through a predictable sequence: compression first, then rodent disturbance, then moisture wicking from the perimeter inward. Our Complete Guide to Insulation in El Monte gives you a structured inspection you can repeat every fall, with specific measurements and documentation that turn a vague “looks okay” walkthrough into a record any contractor can read. You’ll learn how to spot the three damage signatures, when blocked soffit vents in El Monte’s summer heat become a real problem, and the one condition that makes insulation work a mistake to attempt first.
Quick Answer
Attic insulation maintenance in El Monte means measuring installed depth against your original certificate, checking for three specific damage signatures (compression tunnels, rodent disturbance, moisture staining), verifying soffit and ridge vent airflow, and documenting everything with photos and dated notes. Do this every October, before the heating season. If you find active moisture staining on roof sheathing, stop - that requires roofing or air sealing first, not more insulation.
Table of Contents
- How Insulation Fails in El Monte: The Three Signatures
- Tools You’ll Need and Safety First
- Step-by-Step Inspection Protocol
- Measuring Installed Depth Against Your Certificate
- Reading Damage Signatures: What Caused What
- Checking Ventilation: Soffit, Ridge, and Gable Vents
- Documenting Your Findings
- Common Mistakes to Avoid
- When to Call a Professional
- Frequently Asked Questions
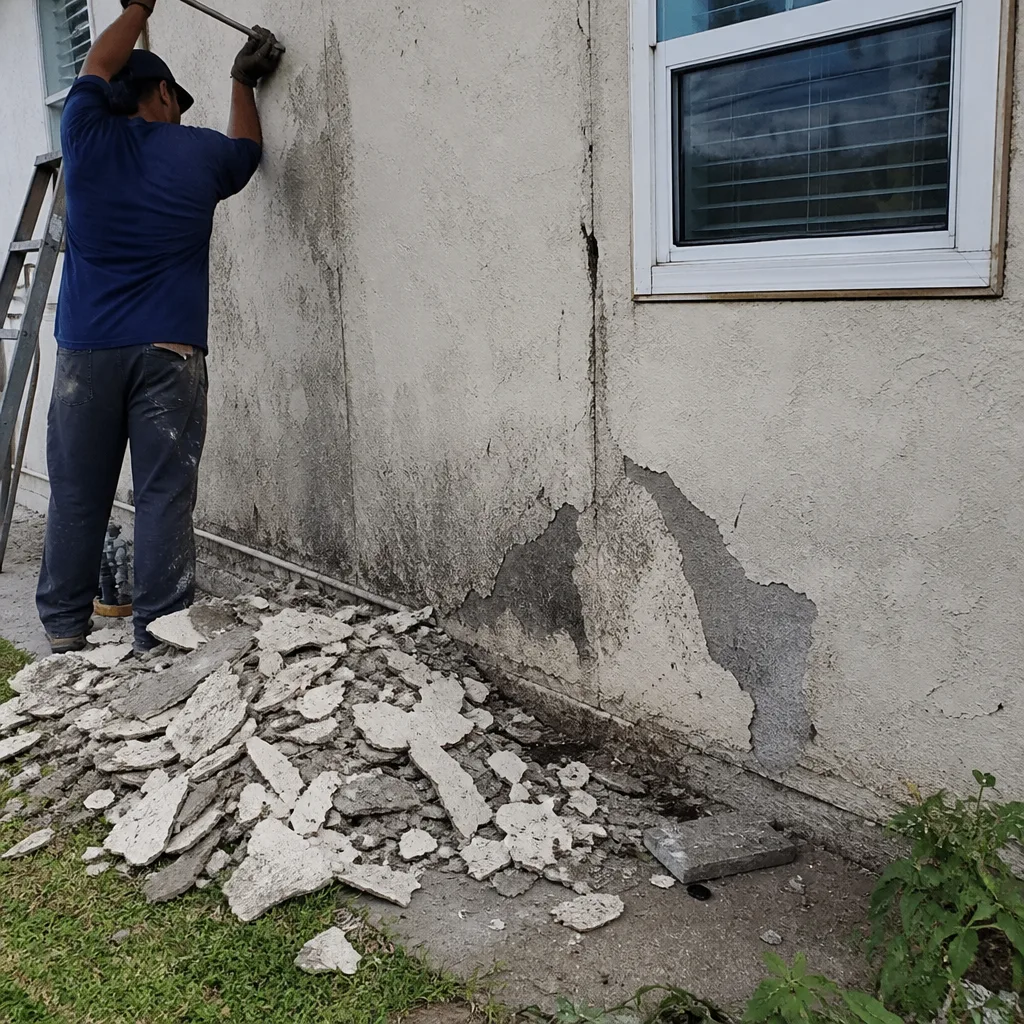 Before
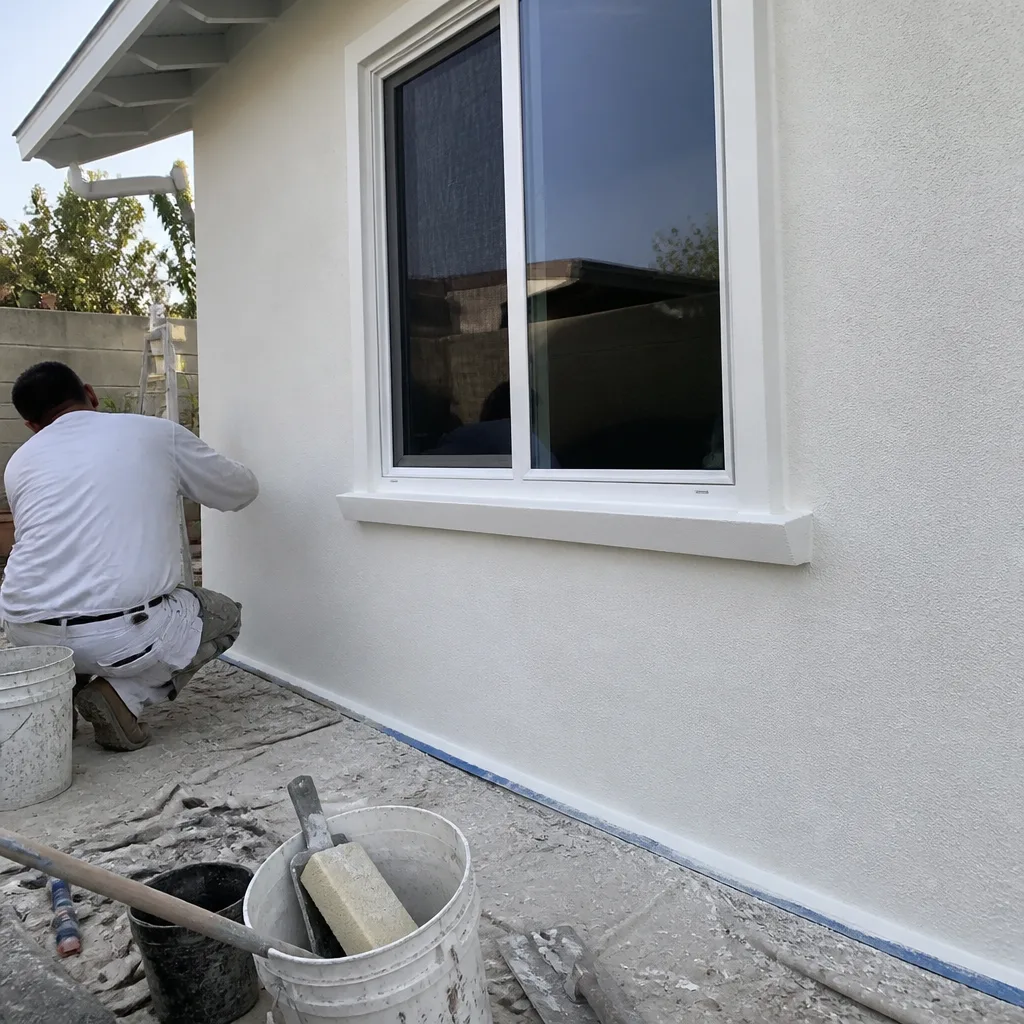 After
AfterHow Insulation Fails in El Monte: The Three Signatures
Insulation in El Monte doesn’t crumble or disappear overnight. It fails in stages, and each stage leaves a visual signature that tells you what happened and when to act.
Compression damage comes first and most often. Every time a cable installer, HVAC technician, or inspector walks across your attic floor, they compress the material beneath their knees and feet. Blown cellulose compresses permanently; fiberglass batts partially rebound but never fully. In El Monte’s older neighborhoods near Tyler Avenue and the older sections of Mountain View, we regularly see attics with 14 inches of cellulose installed in 2018 now reading 9 to 10 inches in the traffic lanes - a 30 to 35 percent loss in effective R-value, even though the material itself is fine.
Rodent disturbance shows up differently. Roof rats are common in El Monte’s mature tree canopy, particularly in neighborhoods near Whittier Narrows and the Rio Hondo corridor where citrus and avocado trees provide cover. Their tunnels are 2 to 3 inches in diameter, often following joist bays, and they push insulation aside to create nesting cavities. The signature is distinct: a cleared path with loose, fluffed material piled at the edges, sometimes with droppings or urine staining on the surrounding material. Unlike compression, rodent damage doesn’t flatten the insulation - it displaces it, creating cold spots where the cavity is empty.
Moisture wicking is the slowest and most serious. El Monte’s summer heat builds to 95°F and higher for weeks at a time, and attics without adequate ventilation can reach 140°F. When warm, humid air from the living space leaks through ceiling penetrations - can lights, top plates, bathroom fans - it hits the cooler roof sheathing and condenses. Over months, this wicks downward into the insulation, causing it to mat and compress. The signature is a darkening or graying of the material near the perimeter, especially above exterior walls where the temperature differential is sharpest. In severe cases, you’ll see staining on the roof sheathing itself - and that changes everything about what repair means.
We’ve documented all three signatures in homes from Topside Attic Insulation El Monte home inspections, and the order matters for your checklist. Compression you measure. Rodent disturbance you trace. Moisture staining you treat as a stop condition.
Tools You’ll Need and Safety First
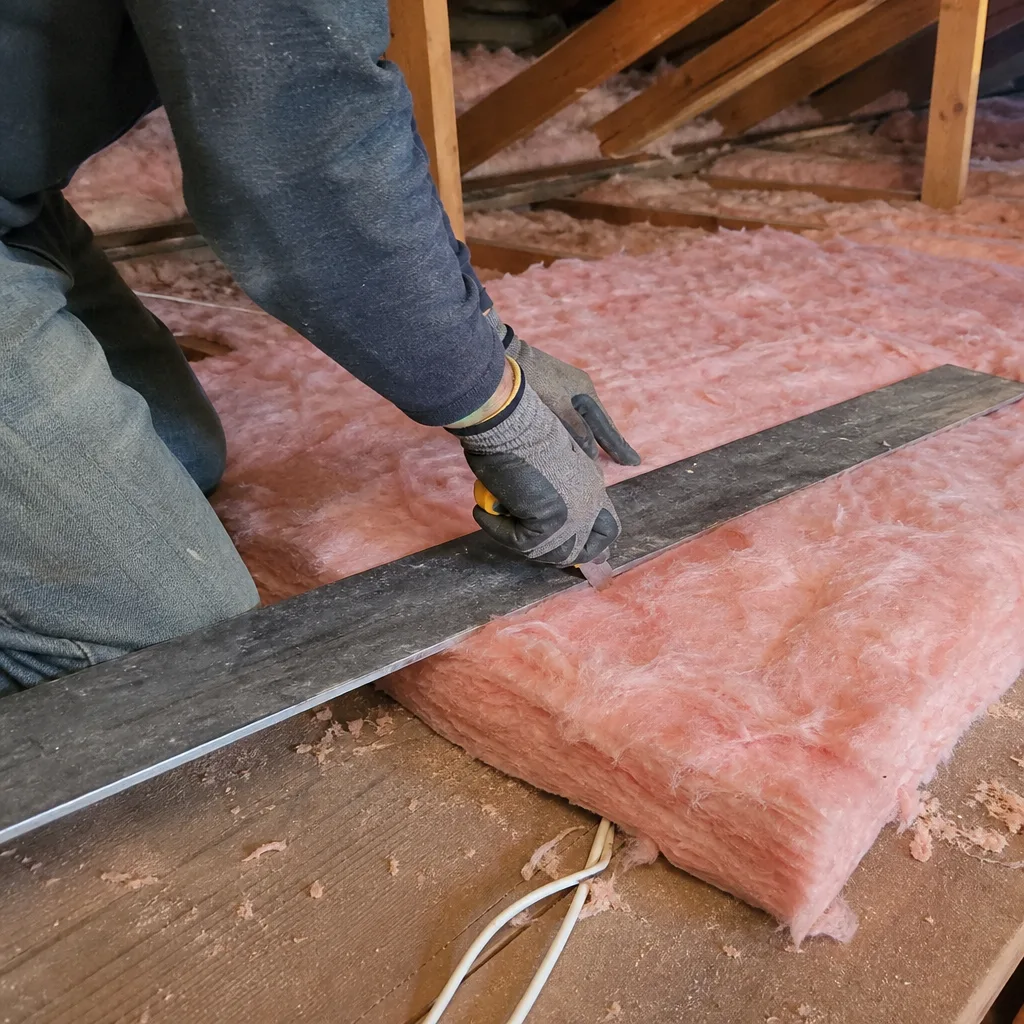
You don’t need much. What you need is specific:
- Extendable measuring stick or rigid tape measure - not a flexible cloth tape, which bends when you push it through insulation to the drywall below. A 1-inch by 2-inch strip of wood, marked in inches, works better than anything from a hardware store.
- Headlamp, not a handheld flashlight - you need both hands free to measure and photograph.
- Dust mask rated N95 or higher - cellulose dust is irritating; rodent-affected material is worse.
- Knee board or wide plywood scrap - distribute your weight so you don’t create the exact compression you’re measuring for.
- Smartphone for photos - with date stamp enabled, or use an app that geotags to El Monte for your records.
- Notebook or phone notes - five measurement locations, any disturbances found, ventilation observations.
- Original insulation certificate or receipt - this states the installed R-value and depth at completion.
Safety note: Attic work involves heat exhaustion risk, especially in El Monte from June through October. Start early morning. Bring water. If your attic has exposed electrical, knob-and-tube wiring, or a gas appliance up there, stop and call a professional - we won’t enter those attics without an electrician’s clearance either, and neither should you. Also, if you find active moisture staining on roof sheathing, do not disturb the insulation below it. Disturbing wet, mold-affected material without proper containment spreads spores through your HVAC system.
Step-by-Step Inspection Protocol
Follow this order every time. It builds a consistent record year over year.
- Enter and observe without touching anything for two minutes. Note the overall depth impression. Does it look even? Are there obvious paths, piles, or darkened areas? Take a wide photo from the attic entry point for your baseline.
- Place your knee board and move to your first measurement location. Choose the center of the attic, well away from the entry hatch and any known traffic paths.
- Measure depth by pressing your stick straight down until it contacts the drywall ceiling below. Read the depth at the top of the insulation layer. Record to the nearest half-inch.
- Move to four additional locations in a rough grid: near the north perimeter, south perimeter, east perimeter, and west perimeter. Perimeter measurements are critical in El Monte because soffit vent blockage and thermal bridging at exterior walls cause the most degradation there.
- At each location, note the damage signature if any: compressed path, rodent tunnel, moisture darkening, or undisturbed.
- Photograph any disturbance from directly above and at a 45-degree angle. The combination shows depth and extent.
- Check all ventilation points from the attic side. More on this in the ventilation section below.
- Exit, date your notes, and file with previous years’ records.
Total time: 20 to 30 minutes for a 1,200-square-foot attic. The value is in the repetition. One inspection tells you little. Three inspections across 18 months show you whether your insulation is stable, slowly degrading, or actively failing.
Measuring Installed Depth Against Your Certificate
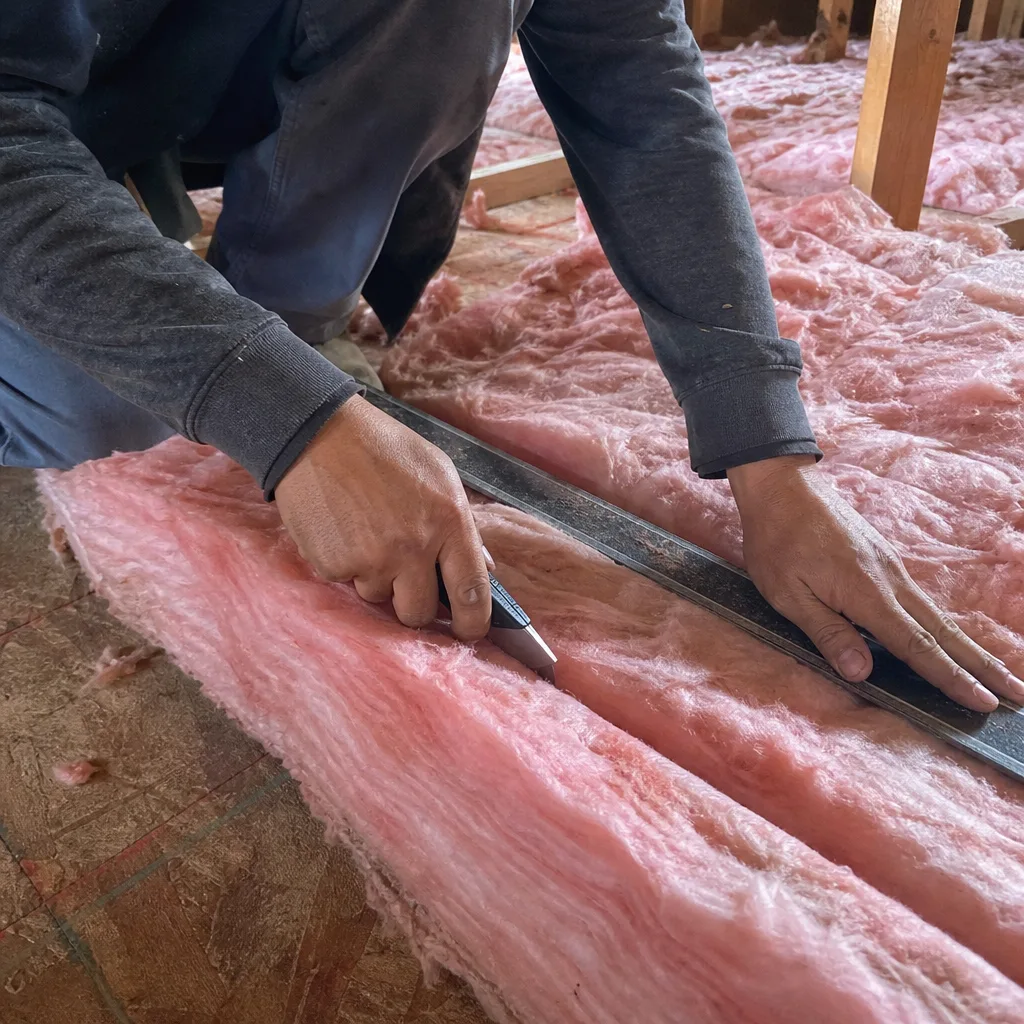
This is where most homeowners discover a problem they didn’t know they had.
Your original insulation certificate - the document from your contractor or the previous homeowner - states the installed R-value and the depth required to achieve it. For blown cellulose, R-38 typically requires 10 to 12 inches depending on the specific product density. For fiberglass batts, R-38 is a 12-inch batt. The certificate is your benchmark, not a general rule from the internet.
Here’s what a meaningful discrepancy looks like in inches, not percentages:
- 0 to 1 inch below certificate depth: Normal settling over 2 to 5 years, especially with cellulose. Not urgent.
- 1.5 to 3 inches below certificate depth: Compression damage, likely from foot traffic. Measurable energy loss. Plan for remediation within 12 months.
- More than 3 inches below certificate depth: Significant degradation. You’re likely below current California Title 24 requirements for attic insulation in Climate Zone 10, which includes El Monte. This warrants professional assessment.
- Depth varies more than 2 inches between your five measurement points: Indicates uneven installation, rodent displacement, or moisture-driven migration. Document the pattern - it tells a contractor where to look first.
In El Monte’s Climate Zone 10, Title 24 currently requires R-38 minimum in ceilings for new construction and major alterations. Existing homes aren’t forced to upgrade, but if you’re below R-30 in measured performance, you’re likely spending 15 to 25 percent more on heating and cooling than a properly insulated envelope. We’ve measured attics in the Lambert Park area reading R-19 effective in spots where R-38 was installed a decade ago - not because the material failed, but because it was compressed, displaced, and never measured again.
When we install Attic Insulation in El Monte, we provide a certificate with installed depth, product type, and density. We also photograph the depth at three locations before we leave. If your previous contractor didn’t do this, use the manufacturer’s specification sheet for your insulation type as a proxy benchmark.
Reading Damage Signatures: What Caused What
Not all compression is equal. Not all displacement is rodents. Learning to read the signature saves you from calling the wrong contractor or treating a symptom while the cause continues.
HVAC foot traffic creates linear compression paths, usually 12 to 18 inches wide, following the most direct route from the attic entry to the air handler or ductwork. The edges are relatively clean - no loose material piled up, just flattened insulation with a slight berm on each side where the technician’s weight stopped. In El Monte, we see these most often in homes with package units on the roof and ductwork running through the attic, common in the 1950s and 1960s ranch stock south of the 10 Freeway.
Cable and solar installer traffic is more scattered - multiple narrow paths to various penetration points, often with drill debris left behind. The compression is less deep but more widespread. We’ve found satellite dish coax runs that compressed 40 square feet of attic floor because the installer made six trips across the same general area.
Rodent tunneling is unmistakable once you’ve seen it. The tunnel itself is a cleared path, 2 to 3 inches in diameter, with loose, fluffed insulation pushed to the sides. Roof rats in El Monte prefer to run along joist tops rather than open cavities, so their tunnels often follow structural lines. You may find nesting material - shredded paper, insulation fibers, plant debris - packed into a cavity at the tunnel’s end. Droppings are elongated, roughly 1/2 inch, and often concentrated near the nest. If you find this, your insulation work must include rodent proofing before any new material goes in. Blowing new insulation over active rodent pathways is like paving over a sinkhole.
Moisture-driven settling darkens the material first, then mats it. The insulation loses its loft and becomes dense, almost felt-like. In El Monte, this starts at the perimeter above exterior walls where winter condensation and summer humidity meet. The darkening is gray to brown, not black - black suggests active mold on the sheathing above. If you can pinch the material and it doesn’t spring back, it’s moisture-matted. This material should be removed, not topped off, because its thermal performance is permanently degraded and it may harbor mold spores.
The one condition that changes your priority: Active moisture staining on roof sheathing, especially if it’s spreading or darkening year over year. This means your attic is acting as a condensing surface, and the cause is air leakage from below, inadequate ventilation, or roof failure. Adding insulation before fixing this traps moisture against the sheathing and accelerates rot. In this case, insulation is secondary. Air sealing, ventilation repair, or roofing comes first. We’ve declined insulation jobs in El Monte when our inspection found active sheathing staining - under Haven Standard: Have it in writing, we document why and refer to roofing specialists we trust.
Checking Ventilation: Soffit, Ridge, and Gable Vents
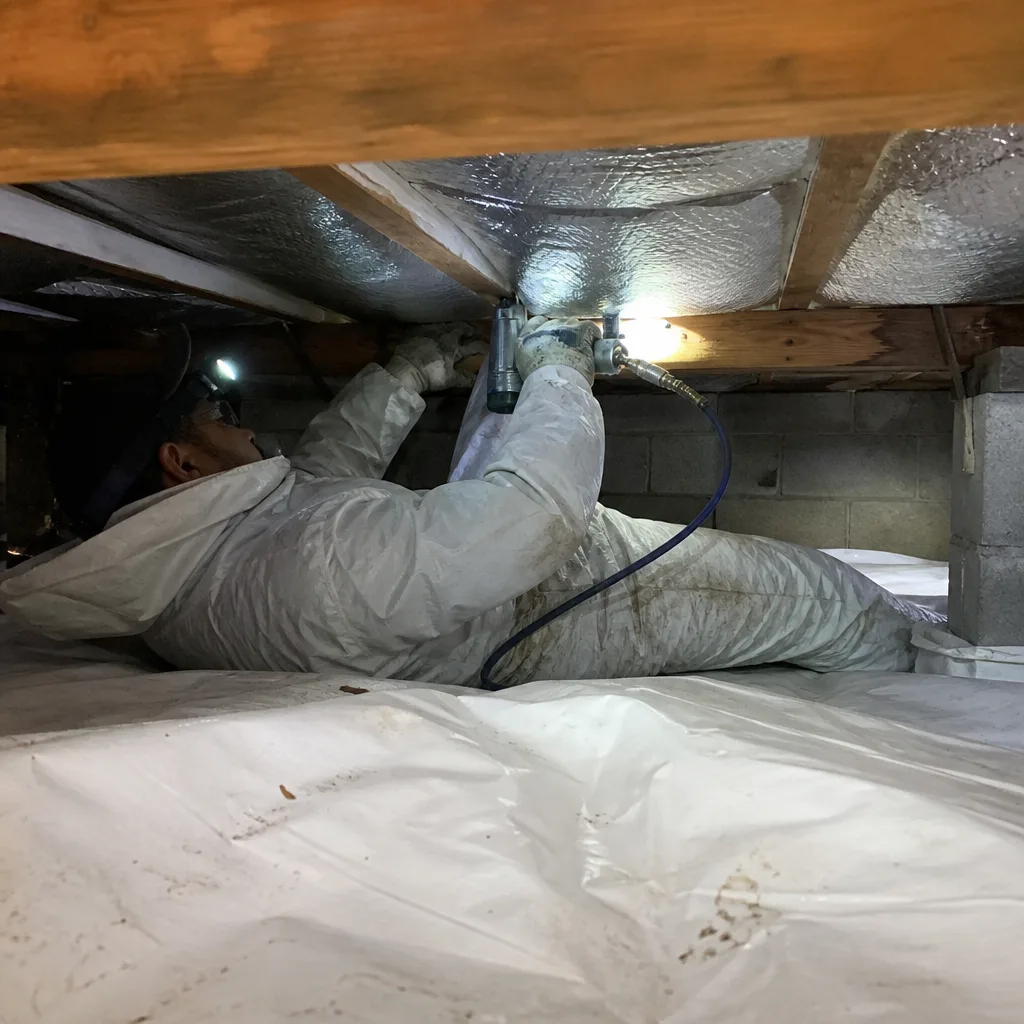
Ventilation is where El Monte’s climate makes a generic checklist dangerous. Our summer heat is prolonged and intense. An attic without airflow becomes a convection oven that cooks insulation from above while conditioned air leaks from below. The result is accelerated degradation at the perimeter and thermal stress on everything in the assembly.
Soffit vents are the intake. From inside the attic, you should see daylight through every soffit vent, and you should feel airflow on your face when the wind blows. Common blockages in El Monte:
- Paint overspray from exterior repainting, especially in older neighborhoods where homes have been painted multiple times. The vent slots gradually clog.
- Insulation pushed against the vent opening during installation or by wind pressure. There should be a baffle - a cardboard or foam channel - keeping the insulation back and allowing air to flow up and over it.
- Stucco or siding retrofits that covered original vents without cutting new ones. We see this in homes that added exterior insulation finish systems in the 1990s.
Ridge vents are the exhaust. From the attic, the ridge vent is a slot cut through the roof sheathing at the peak, covered by a vented cap. You can’t always see daylight through it because of the cap’s design, but you can check for obstructions: wasp nests, deteriorated underlayment that sagged into the slot, or - in one memorable El Monte inspection - a squirrel cache of acorns that completely blocked a 20-foot section.
Gable vents are less common in El Monte but present in pre-1970s homes. They work as intake or exhaust depending on wind direction, but they don’t create the continuous airflow that soffit-to-ridge ventilation does. If your home has gable vents and no soffit or ridge vents, your ventilation is marginal by modern standards. This isn’t an emergency, but it explains why your insulation degrades faster at the perimeter and why summer cooling loads run high.
The 1:300 rule - one square foot of net free vent area per 300 square feet of attic floor - is the California building code minimum. Most El Monte homes built before 1990 fall short. You can’t easily measure net free area yourself, but you can count vent openings and estimate whether the ratio feels plausible. A 1,200-square-foot attic with two 6×12 inch soffit vents and a ridge vent cut every 4 feet is likely adequate. The same attic with painted-over soffit vents and no ridge vent is not.
When ventilation is inadequate, insulation replacement without ventilation improvement is temporary. The new material will degrade the same way, just on a longer timeline. In our Spray Foam Insulation in El Monte work, we sometimes specify open-cell spray foam on the roof deck as an alternative to vented attic insulation - this converts the attic to conditioned space and removes the ventilation requirement entirely. It’s not right for every home, but for some El Monte ranch homes with unfixable ventilation, it’s the durable solution.
Documenting Your Findings
The documentation is the point. Without it, you have a memory. With it, you have evidence that any contractor can read, and you have a baseline to compare against next year.
Here’s the minimum record we recommend:
- Date and weather conditions - outdoor temperature, whether it was windy (affects ventilation check observations).
- Five depth measurements - location description and reading to nearest half-inch.
- Damage signature notation - none, compression [describe location], rodent tunnel [describe location and extent], moisture darkening [describe location and severity], or active sheathing staining [stop condition].
- Ventilation observations - soffit vents clear or blocked, ridge vent clear or obstructed, estimated airflow.
- Photos - wide shot from entry point, each measurement location, any damage signature from two angles, ventilation blockages if found.
Store this with your home maintenance records. When you call a contractor, email the photos and notes before they visit. A professional who can review your documentation in advance gives you a more accurate preliminary assessment and shows up with appropriate materials and expectations. Under Haven Standard: Have it in writing, we ask for this documentation on every callback - it saves you a diagnostic visit and lets us quote remediation accurately.
Over three to five years, your records will show whether your attic is stable or degrading. Stable attics vary by less than 1 inch year to year. Degrading attins show progressive compression, spreading moisture signatures, or new rodent activity. The rate of change tells you whether to monitor, remediate, or call for professional assessment.
For homeowners considering Crawl Space Encapsulation & Vapor Barrier in El Monte, the same documentation discipline applies. Crawl spaces have different failure modes - ground moisture, not ventilation - but the principle of measured, dated, photographed records is identical.
Common Mistakes to Avoid
- Measuring only at the attic entry. This is where foot traffic is heaviest and compression is worst. Your entry-point measurement is almost always your lowest reading. It tells you about traffic, not overall condition.
- Topping off without finding the cause. Adding 3 inches of new cellulose over compressed or moisture-matted old material gives you 3 inches of good insulation over a compromised layer. The effective R-value is not additive in the way you expect, and the underlying problem continues.
- Ignoring soffit vent blockages because “the attic feels hot in summer anyway.” All attics feel hot in El Monte summer. The question is whether they’re ventilating. A 140°F attic with airflow is different from a 160°F attic with stagnant air - the latter cooks your insulation and your shingles.
- Treating rodent damage as a one-time cleanup. Roof rats have territories and travel patterns. If they’ve found access once, they’ll return unless entry points are sealed with metal flashing or hardware cloth. We rodent-proof before we insulate on every job - it’s not an upsell, it’s a prerequisite for durable work.
- Using percentage loss estimates instead of inch measurements. “I lost about 20 percent” is meaningless to a contractor. “I measured 9 inches where the certificate says 12” is actionable. Measure in inches. Record in inches. Communicate in inches.
- Attempting DIY removal of moisture-affected insulation. Disturbing mold-contaminated material without containment and negative air pressure spreads spores through your living space. The safety risk is real, and the remediation cost multiplies if you make it worse.
- Calling for a “free estimate” without documentation. The estimate becomes a sales visit. The contractor measures what you could have measured, guesses at history you could have recorded, and quotes a range that widens once work begins. Your documentation converts a sales visit into a technical assessment.
When to Call a Professional
Call when you find active moisture staining on roof sheathing - this is the stop condition. Call when rodent tunnels are extensive or fresh droppings indicate active infestation. Call when measured depth is more than 3 inches below your certificate and the cause isn’t simple, accessible compression. Call when your documentation across two or more years shows progressive degradation and you’re not sure why.
Topside Attic Insulation El Monte offers free estimates in El Monte - call (626) 415-3454. We begin with your documentation if you have it, confirm your measurements with our own, and provide a written scope and written price before any work starts. On air-sealing jobs, we provide before-and-after blower-door numbers - a pressurization reading that shows, in one figure, how much conditioned air your home was losing before and after the work. Every job closes with a Documented Photo Record, and all work carries our 365-Day Done Right Promise.
Frequently Asked Questions
Inspect once a year, ideally in October before the heating season begins. El Monte’s summer heat is the primary stressor, so checking after the hottest months lets you assess degradation when it’s most pronounced. If you’ve had HVAC work, cable installation, or roofing repairs during the year, add an inspection 30 days after - that’s when compression damage or displaced insulation becomes visible but before it settles in permanently.
Most attic insulation jobs in an El Monte home of 1,000 to 1,500 square feet run between $2,800 and $5,400 for removal and replacement with blown cellulose or fiberglass, including air sealing of top plates and penetrations. Spray foam on the roof deck, which converts the attic to conditioned space, typically ranges from $4,500 to $9,000 depending on accessibility and square footage. These ranges include removal of degraded material, rodent proofing if needed, and installation to current Title 24 standards. Call (626) 415-3454 for an exact quote - estimates are free, and we provide a written price before any work starts.
Only if the old insulation is dry, uncompressed, and free of rodent contamination. In El Monte, we find this combination less often than homeowners expect. Moisture-matted insulation traps humidity against the ceiling drywall. Compressed insulation creates thermal bridges. Rodent-affected material is a health hazard. We remove and start fresh in about 60 percent of the attics we assess - not because we prefer the larger job, but because topping off compromised material produces compromised results. Your documentation from inspection will tell you which category you’re in.
Perimeter degradation is the signature of thermal bridging and inadequate ventilation. In El Monte, exterior wall top plates create a heat path that makes the perimeter insulation work harder year-round. Summer sun heats the roof deck; winter indoor humidity condenses at the coldest surface, which is often the sheathing above exterior walls. Without continuous soffit-to-ridge airflow, this perimeter zone sees the widest temperature swings and the most moisture cycling. Check your soffit vents first - blockage here is the most common correctable cause.
Both perform well when installed to density and protected from moisture. Cellulose has slightly better resistance to air movement at a given depth and performs better in fire tests due to its boron treatment. Fiberglass doesn’t absorb moisture and rebounds better from minor compression. In El Monte’s dry climate, either is appropriate; the choice depends more on your attic’s ventilation condition and whether rodent history suggests a preference for one material or the other. We install Owens Corning, Johns Manville, Knauf, Rockwool, and CertainTeed fiberglass products, and GreenFiber cellulose - no proprietary lock-in, so we specify what fits your conditions.
A blower-door test is a pressurization reading that shows, in one number, how much air your building envelope is losing. We run the test before and after air sealing on every applicable job. A typical El Monte home built in the 1960s might read 4,500 CFM50 before sealing and 2,200 after - meaning we cut the air leakage roughly in half. The number matters because air leakage is what carries moisture into your attic, what drives your heating and cooling costs, and what makes insulation performance theoretical rather than actual. We publish these numbers on every job so you can verify the result you paid for.
Check for daylight and airflow at every soffit vent from inside the attic. Check that your ridge vent slot is continuous and unobstructed. Estimate whether your net free vent area plausibly meets the 1:300 ratio - one square foot per 300 square feet of attic floor. In El Monte’s heat, more ventilation is generally better than less, and continuous soffit-to-ridge airflow outperforms gable vents or power vents. If you’re unsure, document what you can see and include it in your contractor consultation. Ventilation assessment is part of our standard inspection, and we specify repairs when they’re needed to protect insulation performance.
The Bottom Line
Attic insulation maintenance in El Monte is not a vague visual check - it’s a structured, repeatable inspection with specific measurements and documentation. Measure depth at five points against your original certificate. Learn to read the three damage signatures: compression from foot traffic, rodent tunneling and displacement, moisture-driven matting and darkening. Verify soffit and ridge ventilation, because El Monte’s summer heat will degrade insulation faster where airflow is blocked. Document everything with dated photos and notes. And know the stop condition: active moisture staining on roof sheathing means air sealing or roofing comes first, not more insulation. Do this every October, and you’ll catch degradation before it becomes failure - with a record that any contractor can read and you can trust. For more guides & resources on protecting your home’s performance, explore our blog.
Written by Wes Okafor, Owner at Topside Attic Insulation El Monte, serving El Monte since 2016.